www.calendly.com Login : Log into your Calendly account
By login into Calendly at www.calendly.com, your schedule automation platform, you can do a lot of things, such stop exchanging emails back and forth to locate the ideal time.
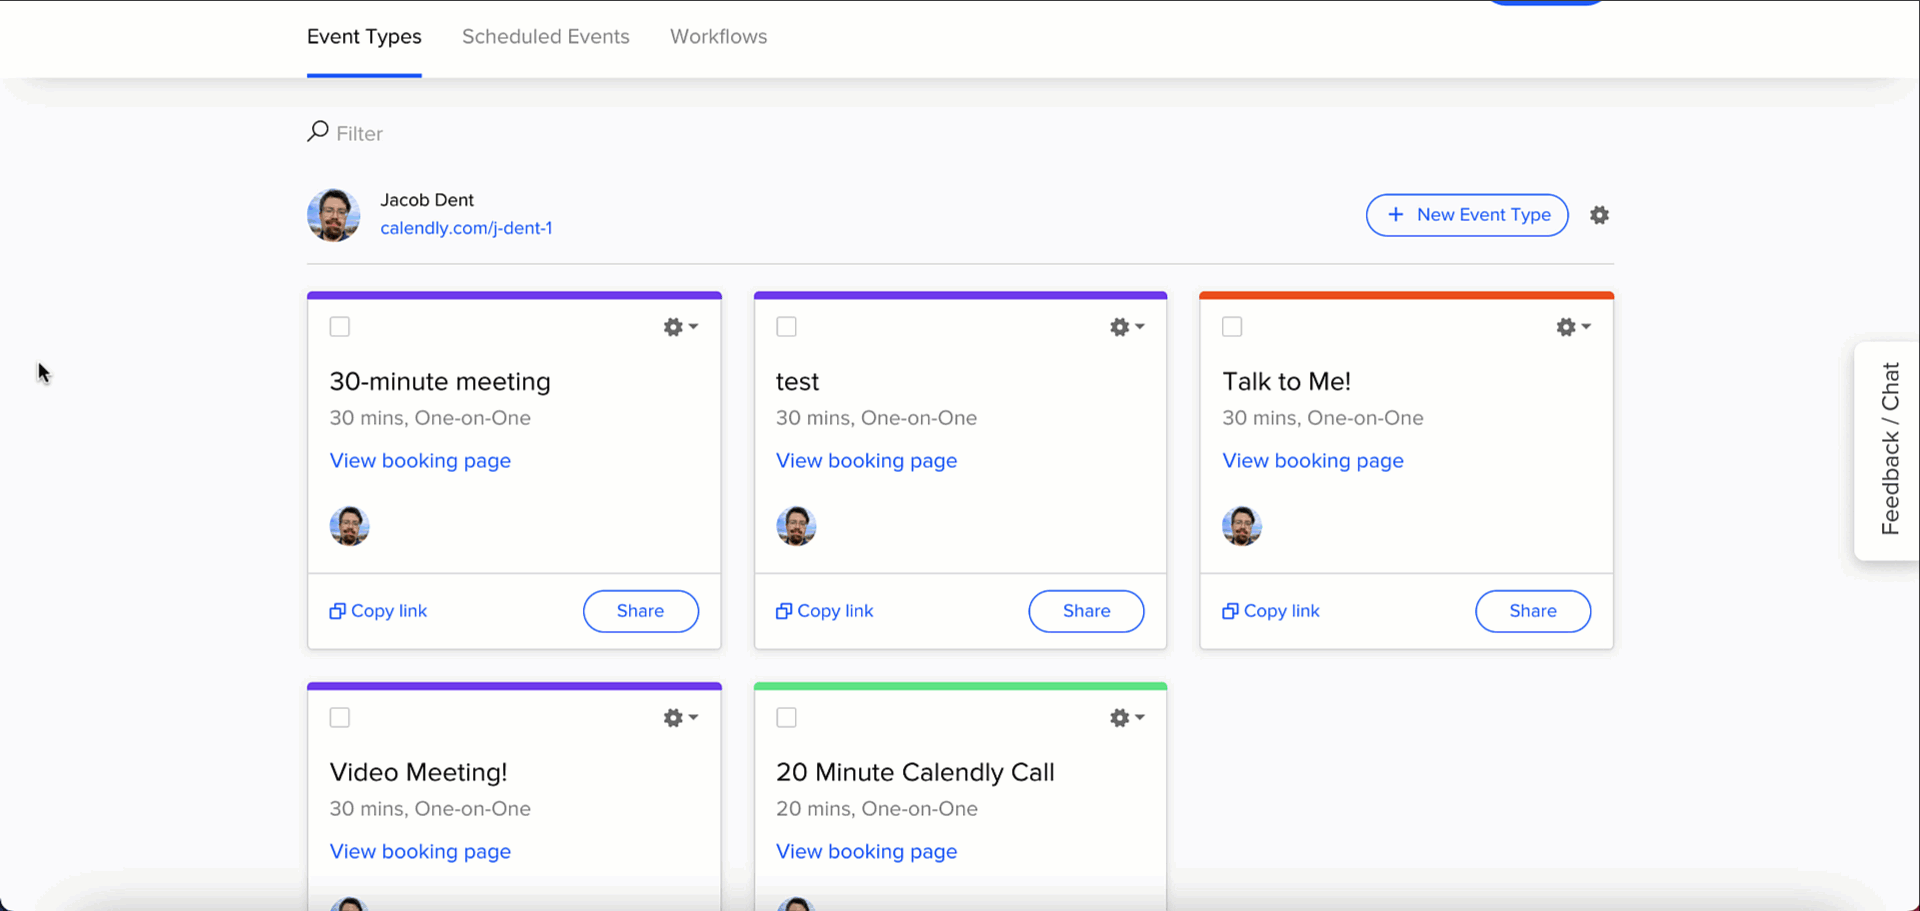
Setting up your first event
Step 1: Create your event
You already have default events on your Calendly home page. We’ll guide you through some quick changes to make one of them work better for you.
- On your Calendly home page, select an event
(If the event isn’t the duration you want, we can change that later. - Select What event is this, then enter a name for your event.
- At Location, select a location for the event (e.g. enter your address or select an online meeting).
- Select Save and Close.
- Select When can people book this event, then change:
- the duration.
- how far into the future guests can book with you.
- (optional) On the calendar, block off any additional times when you’re not available. (We already block times marked as busy in the calendar you connected to Calendly.)
- Select Save and Close.
Step 2: Preview what your guests will see
Check out what time slots your guests will see when they book time for this event.
- At the upper right corner of the event type page, select View live page.Tip: you can also see your scheduling site that shows all your events you offer. From your dashboard, select the link just below your name at the upper left side of the page.
Step 3: Share your event
Now share your link so others can book time with you.
To share your personal scheduling site where guests can choose times:
- On your dashboard, select Share, then Copy link. Then you can paste the link into an email or text message.
- Send the link to another person.Tip: send your link to yourself to see what others will see.
To send times in an email:
- On your Calendly dashboard, select Share, then Add times to email.
- From your calendar, select days and times to add to your email. Select Continue when finished.
- You will see a visual of what will be pasted into your email. Select Copy times to clipboard.
- Now you can paste these times into your email body.
Using Calendly for Chrome
The Calendly for Chrome extension makes impromptu scheduling easy. From your Chrome browser, LinkedIn Messenger window, and Gmail message window you can:
- see and share your scheduling links with invitees
- create a one-off meeting
- create a meeting poll
- add available times to an email
Before you begin…
- To use Calendly for Chrome, first install the extension to your web browser from the Chrome web store. You can also install the extension from your Calendly account by selecting Account at the top of your homepage and then selecting the Apps page. Once installed, you can add the extension to your toolbar for quick access. You can read this guide to learn more about installing the extension.
- If you are using Microsoft Edge as your default browser, you can still install the Calendly for Chrome extension. Read this guide to learn how to add the extension to your Microsoft Edge browser.
- To get the most out of your Chrome extension, we recommend integrating your Gmail and Linkedin. These integrations can be turned on or off via the Integrations tab in the extension
How to share your meeting links
Open the Calendly for Chrome extension from your browser toolbar and locate the event type that you would like to share with your invitee. Beneath that event type, choose one of the three link sharing options.

- Choose Copy link to simply copy your event scheduling link and paste it wherever you would like.
- Choose Copy single-use link if you want this event to only be booked once by your invitee. When you share a single-use link, that scheduling link will expire once the event has been booked.
- Choose Add times to email to select specific dates (up to 3) you want to offer your invitee for this event type. Calendly will only offer the time slots you are available on those specific dates to your invitee when you use this option. Once you have select your desired dates, select Finish and Share and the times you chose will automatically be copied to your clipboard. From there, simply paste the times into a newly composed email.