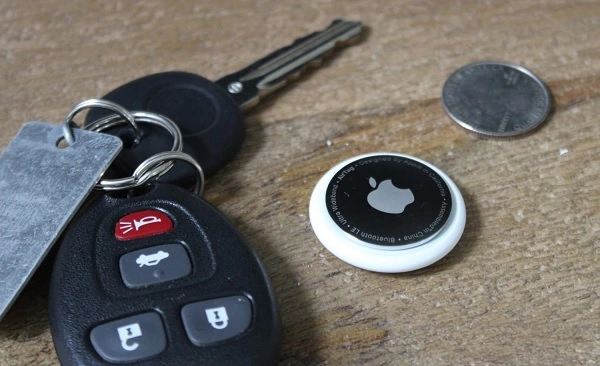
Activating an Apple AirTag is super easy! Hold your AirTag near your iPhone or iPad, then tap Connect. If you have more than one AirTag and get the alert “More than one AirTag detected”, make sure that only one AirTag is near your device at a time.
Here’s how:
1. Unbox and Power Up: Take the AirTag out of its box and remove the plastic wrap. This will also remove the battery tab, activating the AirTag. You should hear a sound indicating it’s on.
2. Bring it Near Your iPhone or iPad: Hold the AirTag close to your unlocked device. A pop-up will appear on your screen.
3. Tap “Connect”: Follow the on-screen prompts to pair the AirTag with your device
4. Name and Personalize: You’ll be asked to give your AirTag a name (e.g., “Keys,” “Backpack”) and choose an emoji to easily identify it in the Find My app
5. Attach to Your Item: Place the AirTag in a holder or loop and attach it to the item you want to track
6. That’s it! Your AirTag is now activated and ready to help you keep track of your belongings. You can use the Find My app to locate your AirTag on a map, play a sound to help you find it, or even get directions to its location.

Also Read : https://www.creditonebank.com/activate
Change the name of your AirTag
- Open the Find My app, then tap the Items tab.
- Tap the AirTag whose name or emoji you want to change.
- Scroll down and tap Rename Item
- Select a name from the list or select Custom Name
- Type a custom name for your AirTag and select an emoji
- Tap Done
If you can’t set up your AirTag
- Make sure your device is ready for setup.
- If the setup animation has disappeared, press the side button or Sleep/Wake button on your iPhone to put your device to sleep. Then wake and unlock your iPhone. Wait up to 15 seconds, and the animation should reappear.
- If you have multiple AirTags to set up, make sure only one is near your device at one time.
- Remove and then replace the battery in your AirTag.*
- If your AirTag still won’t connect to your device, reset your AirTag.